Configure SAML Single Sign On with OneLogin
This guide illustrates how to configure CompleteFTP as a SAML Service Provider (SP) with OneLogin as an Identity Provider (IDP).
Please note that this requires Enterprise MFT.
-
Configure OneLogin as the Identity Provider (IDP).
- Create a free account at OneLogin and log in.
-
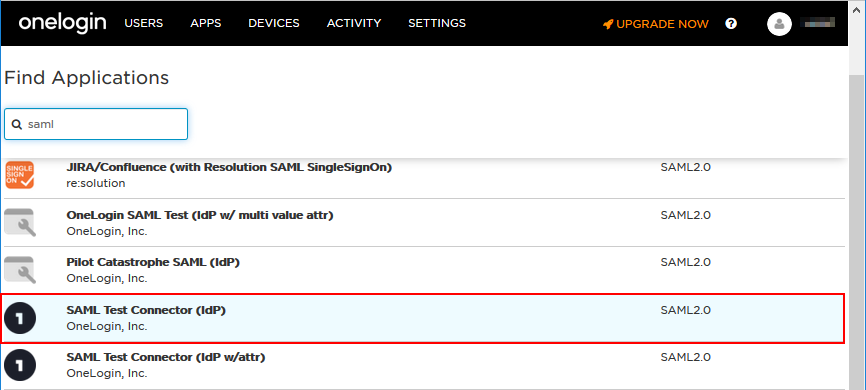
Navigate to Apps → Add Apps.

-
Enter 'saml' into the search box, then pick 'SAML Test Connector (IdP)' from the list.
-
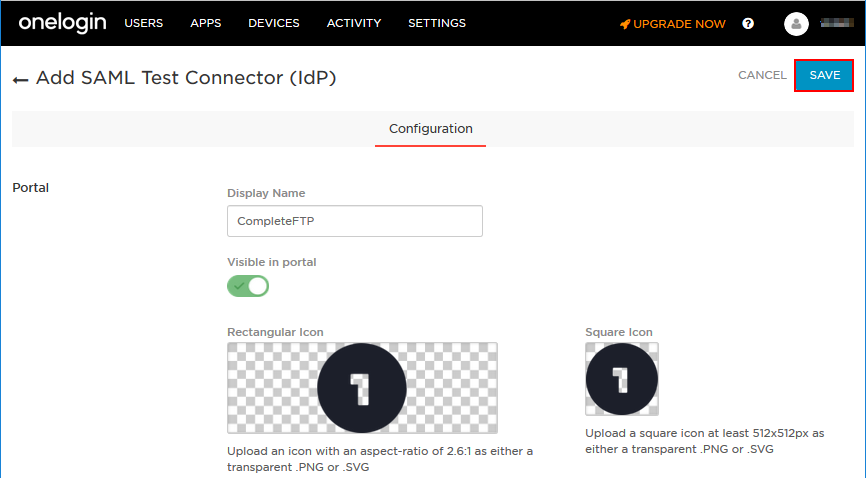
Enter the app's name into the 'Display Name' field (e.g. CompleteFTP) then click the 'Save' button.
-
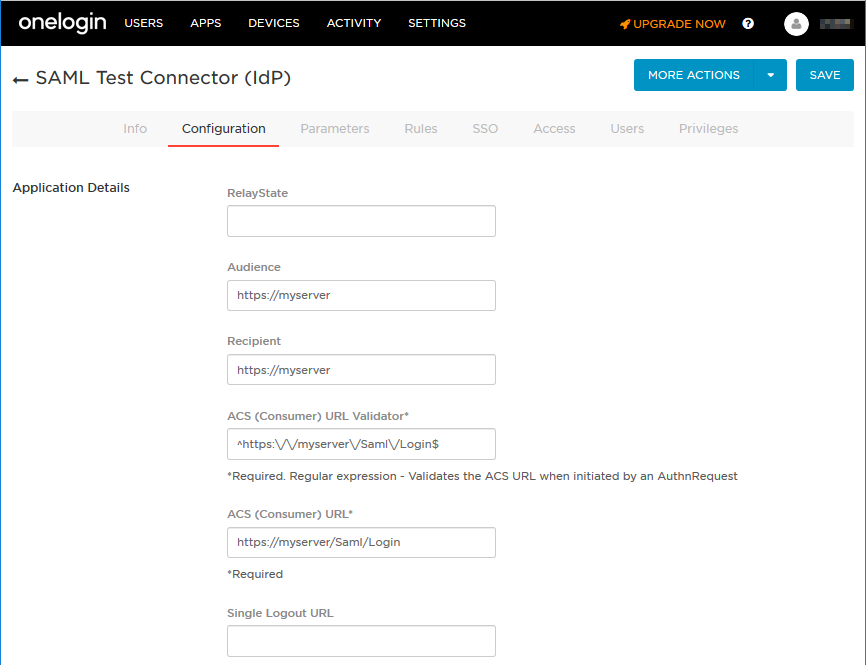
Go to the 'Configuration' tab and...
- Enter your CompleteFTP server's address into 'Audience' and 'Recipient' fields. This URL will also be used in step 2e below.
- Append '/Saml/Login' to the site's URL and put the whole URL, i.e. https://myserver/Saml/Login, into the 'ACS (Consumer) URL' field.
- Convert the 'ACS (Consumer) URL' into a regular expression and put that into 'ACS (Consumer) URL Validator' field. Note that all dots and backslashes in the URL must be preceded by backslashes. For more information, please visit this link.
-
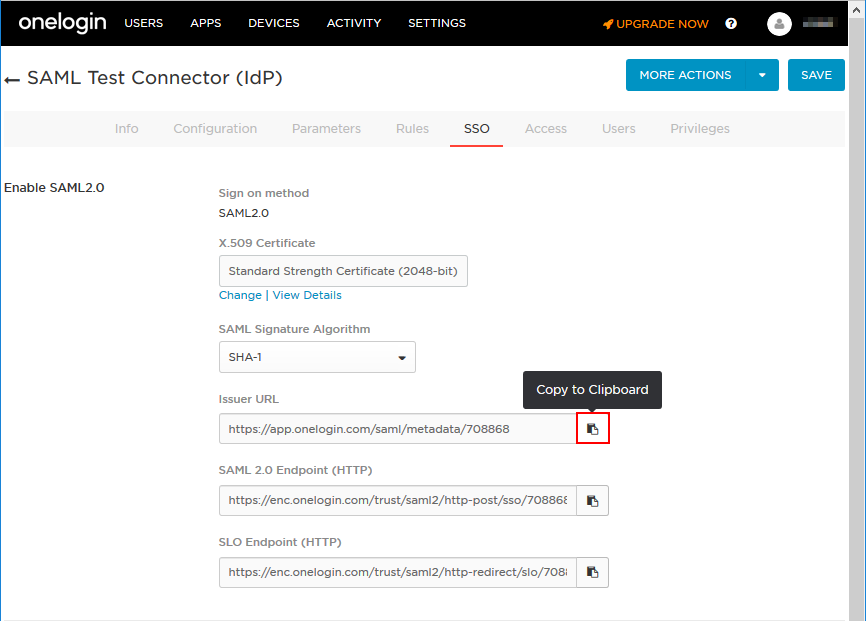
Next, go to the SSO tab, copy the Issuer URL to the clipboard for later use. This is the URL that the IDP's metadata file can be downloaded from.
-
Click the 'Save' button in the top right corner to save the configuration.

-
The app is now created but no one has been given permissions to access it (see below).
Please visit this link for detailed instructions on how to give users access to the app.

-
Configure CompleteFTP as the Service Provider (SP)
-
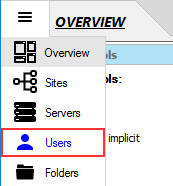
Open the CompleteFTP Manager, select the 'Users' panel from the side-bar menu.
-
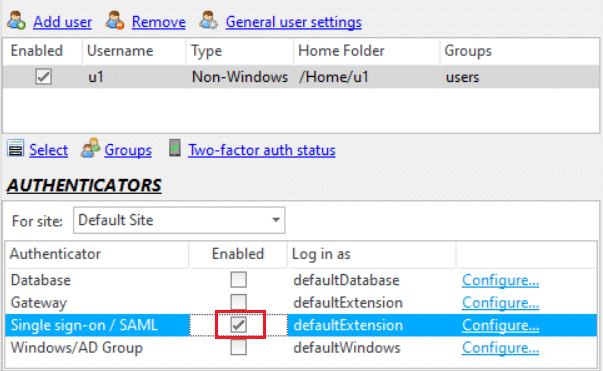
Enable the Single sign-on/SAML authenticator by checking its 'Enabled' checkbox.
-
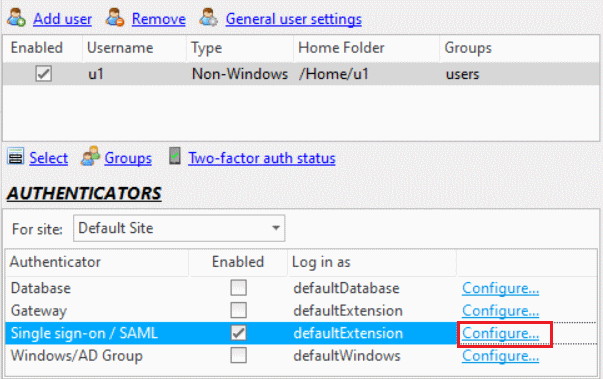
Click the 'Configure' link to open the 'Single sign-on/SAML Configuration' dialog.
-
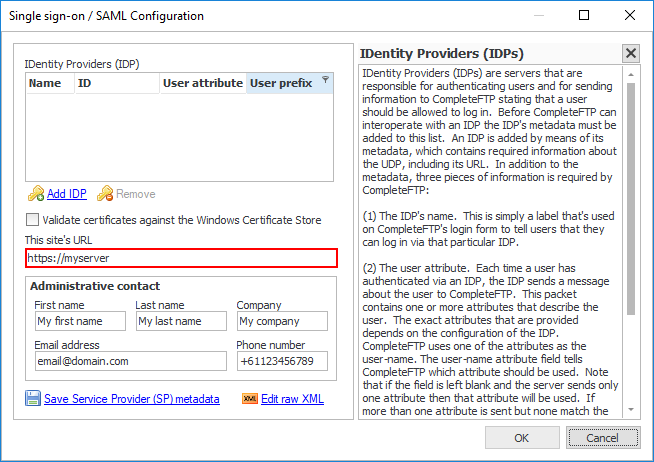
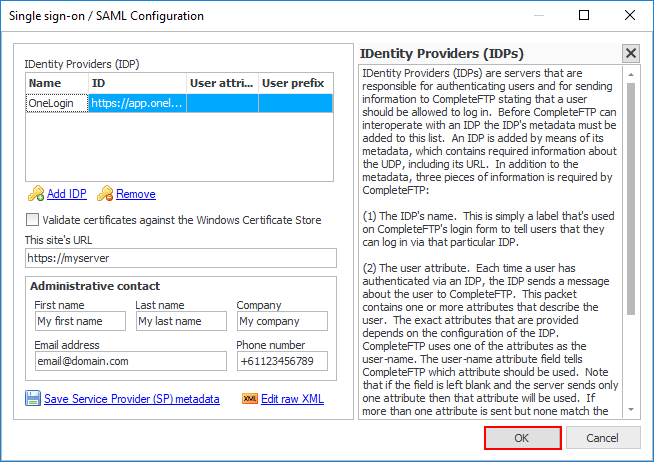
Enter the site's URL. This is the URL of the CompleteFTP server's site on which the Single sign-on/SAML authenticator is enabled.
Note that if the site is configured to use a non-standard port (i.e. 80 for HTTP and 443 for HTTPS) then the site URL must include the port number (e.g. https://myserver:1443).
-
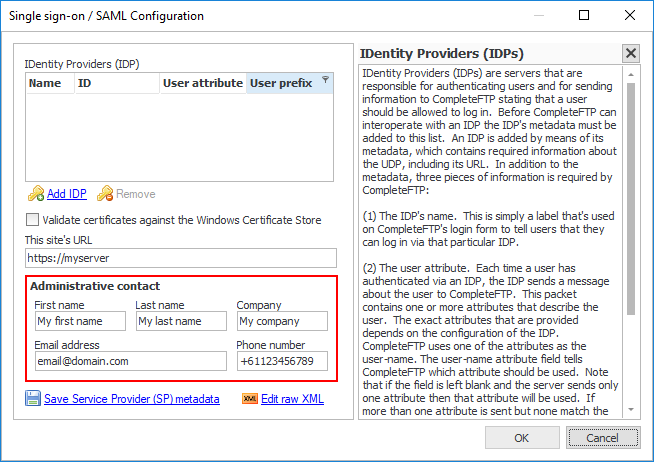
Enter the administrative contact details.
Note that all fields are mandatory.
-
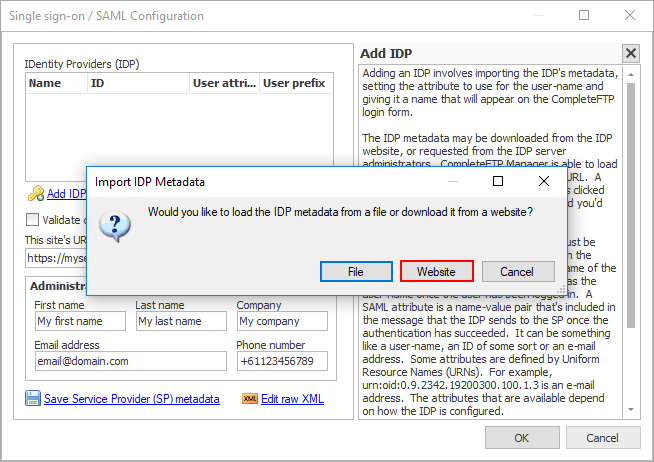
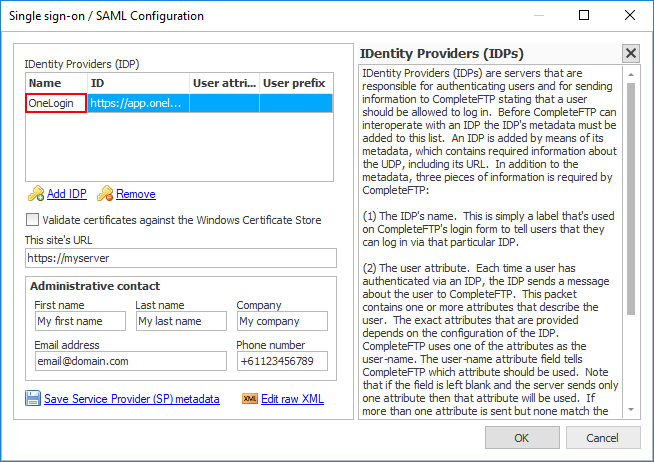
Now, register OneLogin as an IDP in CompleteFTP by clicking 'Add IDP' link.

-
That brings up the 'Import IDP Metadata' dialog. Choose the 'Website' button.
-
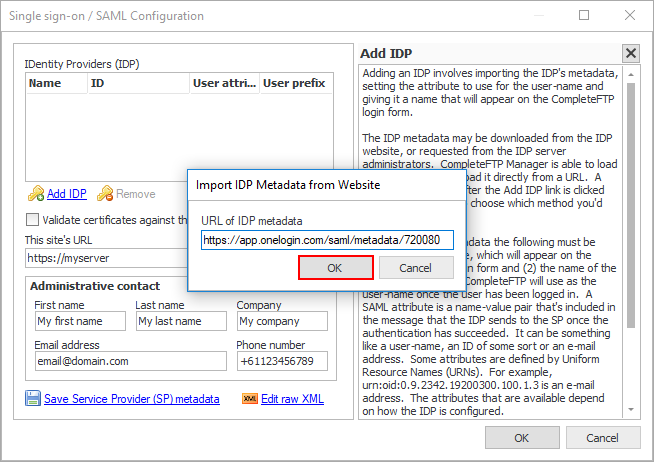
Paste the URL copied in step 1f into the text-field and click 'OK' button.
-
A row should have been added to the list. Let's enter a name for it (e.g. OneLogin) into the 'Name' field.
-
Close the 'Single sign-on/SAML Configuration' dialog.
-
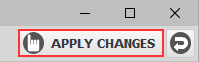
Click the apply changes button.
-
Alright, OneLogin should now be configured as an IDP for your server. Now, let's see how it works.
-
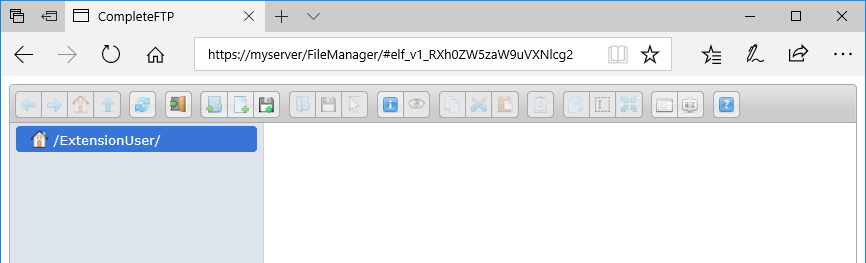
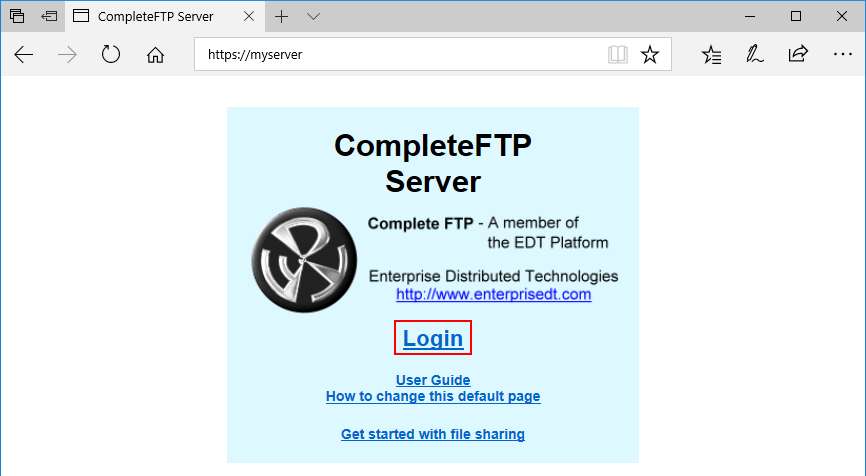
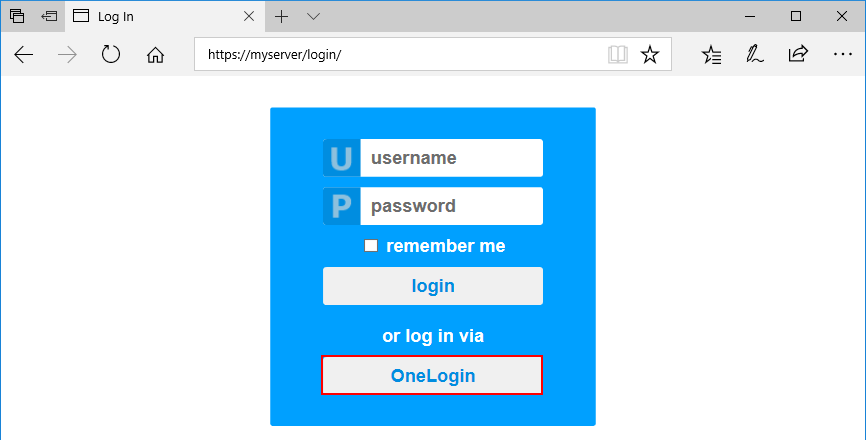
Navigate to your CompleteFTP server via HTTPS protocol and click the 'Login' link.
-
The CompleteFTP login page is displayed. Let's login via OneLogin by clicking the OneLogin button.
-
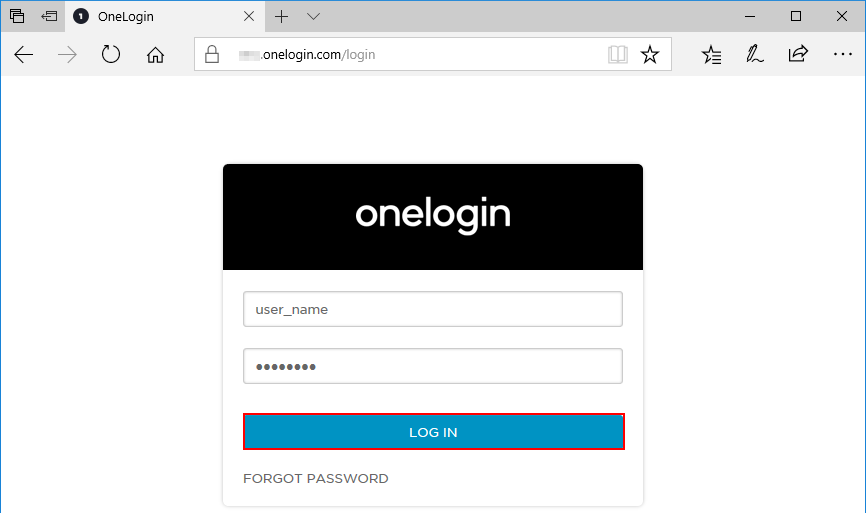
You will be taken to the OneLogin login page. Now, enter the credentials of a OneLogin user who has been given permissions to access the OneLogin's app in step 1h above. Then click 'Log in'.
-
Once you've logged in successfully, you'll be redirected back to CompleteFTP where the File Manager will display.