Public key authentication needs to be enabled in two places as shown below. But if you are using the Standard/Professional Edition, you just need to go through the first one.
- Enable public key authentication method in the 'Settings'/'Sites' panel.
- From the side-bar menu, select the 'Settings' panel (Standard/Professional Edition)
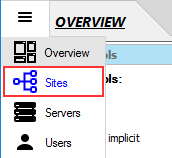
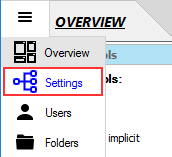 OR the 'Sites' panel (Enterprise MFT).
- Enable 'PublicKey' authentication method in SFTP settings (It is enabled by default).
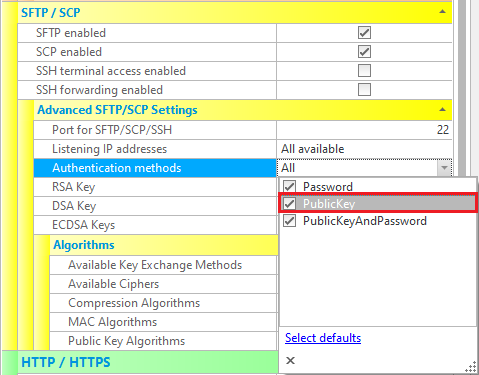
- Set the public key algorithms (optional).
Note: public key authentication uses either the RSA or DSA algorithm. Both of them are enabled by default.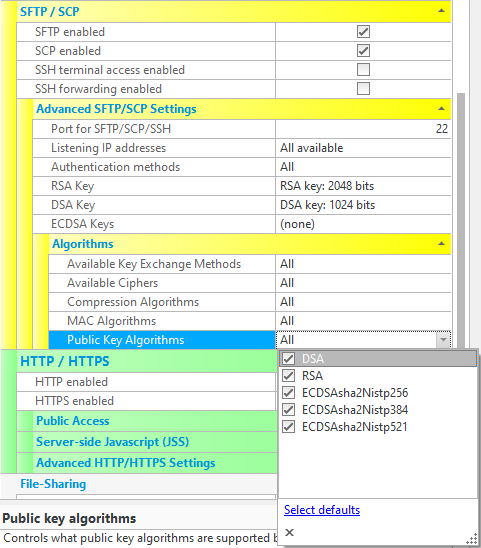
- From the side-bar menu, select the 'Settings' panel (Standard/Professional Edition)
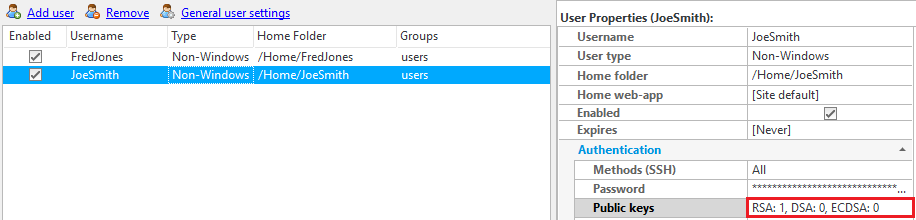
- Enabled public key authentication method in the user's properties (Enterprise MFT only).
- Select the 'Users' panel from the side-bar menu.
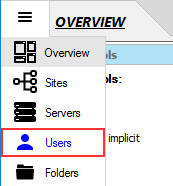
- In the user list, select the user who you want to set up the public key authentication for.

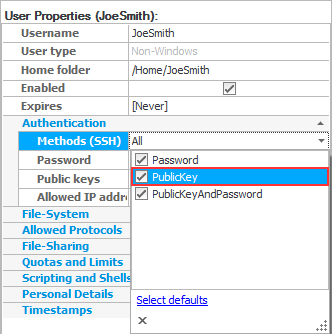
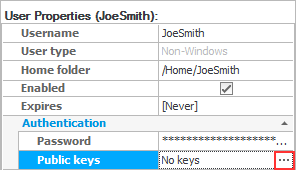
- In the 'User Properties' window, enable 'PublicKey' authentication method for this user in 'Authentication' section.
- Select the 'Users' panel from the side-bar menu.
- Select the 'Users' panel from the side-bar menu.
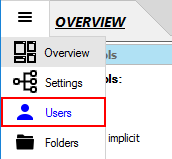
- In the user list, select the user you want to set up the public key authentication for.
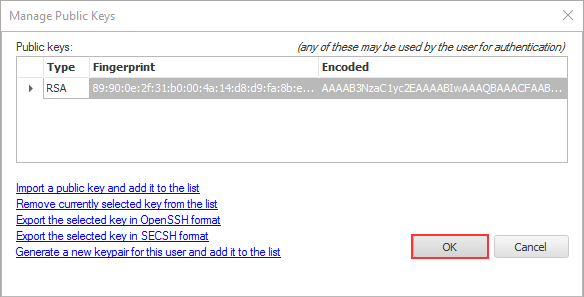
- Open the 'Manage Public Keys' dialog box by clicking the ellipsis button (...) on the right of "Public keys"
in the 'User Properties' window.
- Click 'Generate a new keypair for this user and add it to the list' to create a new keypair.
You can also use "Import a public key and add it to the list", to import existing RSA or DSA public keys for this user.
Public keys can also be deleted and exported.

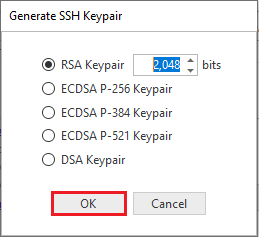
- In the 'Generate SSH Keypair' dialog box, select the desired SSH key type and set the key's size if needed (RSA only). Then click 'OK'.
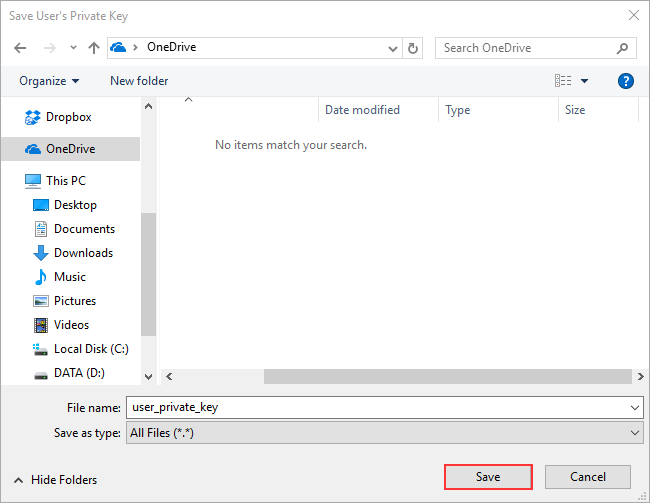
- In 'Save User's Private Key' dialog box, navigate to the directory where you want to save the private key securely. Then enter the file's name and click 'Save'.
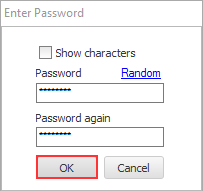
- Enter the key's password manually or click 'Random' to generate one randomly, then click 'OK'.
- Now, the new public key is added to the list. Click 'OK' to close the 'Manage Public Keys' dialog.
- Click the 'Apply changes' button at the top right of the CompleteFTP Manager.
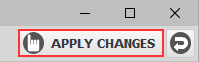 Now, the new keypair has been generated successfully and the public key has been registered with the CompleteFTP server.