This tutorial demonstrates how to connect to your CompleteFTP server using the popular FTP/SFTP client, WinSCP, which can be downloaded here. WinSCP supports FTP, FTPS, SFTP and SCP.
Before looking at this tutorial, make sure you have CompleteFTP installed, and a user created (see here).
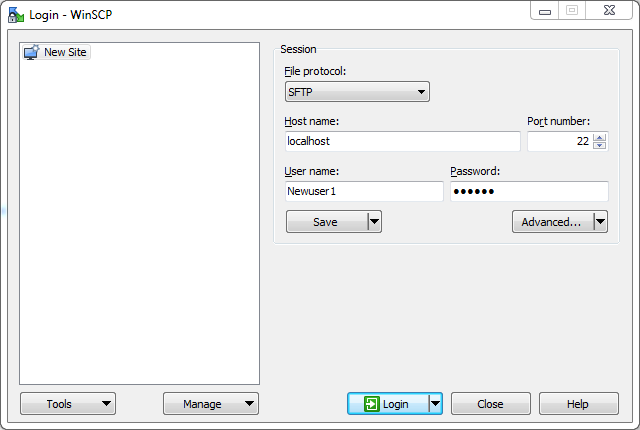
1. After installing and launching WinSCP, the Login window is shown, below.
Enter the user name and password of a user that has been created in CompleteFTP previously.
If you are connecting from the same machine that CompleteFTP was installed on, you can use 127.0.0.1, or localhost for the host name. Otherwise use the hostname of the server. If you are unsure what that is, ask your network administrator.
Now select the protocol to connect with - FTP, SCP or SFTP.
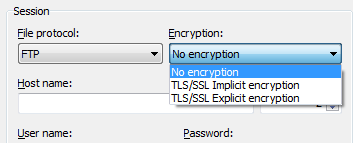
If FTP is chosen, use the Encryption drop-down menu to select what type of FTP you want. If you want plain, unencrypted FTP, select "No encryption". If you want FTPS, which is FTP over a secure connection, select "TLS Explicit encryption".
Then select "Login" to log into the server.
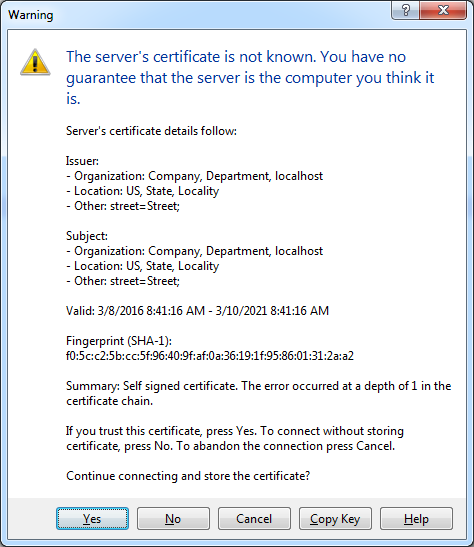
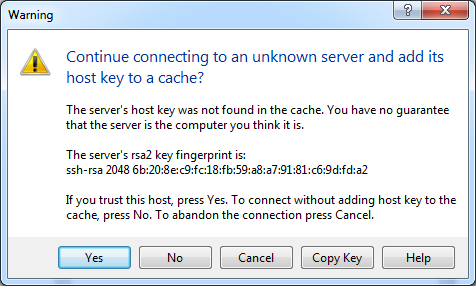
2. If you have chosen SFTP, SCP or an encrypted FTP, a warning about the host will appear. This warning is because you have never connected to this server before, and WinSCP does not have its host key (SFTP/SCP) or its certificate (encrypted FTP)- which identifies the server to clients - installed.
Click Yes to the warning to add the certificate or host key to your cache. Both warnings are displayed below - you will receive only one of them, depending on the protocol used.
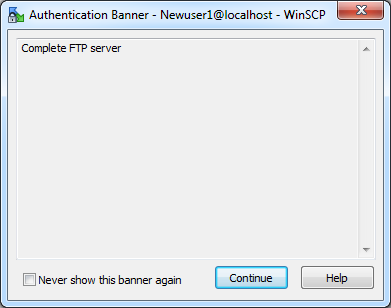
3. Next, the server's banner message will be displayed, as below. Select "Continue" to finish connecting. Check "Never show this banner again" to prevent it being displayed again.
4. You are now connected through WinSCP to the CompleteFTP server, and can start transferring.

To transfer files to the server, simply drag and drop from the left panel to the right. The left panel is your home computer and the right panel is your CompleteFTP server.
![]()