How to write a .NET extension
A CompleteFTP .NET Extension is a .NET assembly, usually a DLL, which contains a class that extends
one of the CompleteFTP extension base-classes (see below). The assembly can be developed in C#, VB.NET or any other .NET language. If you
don't already have Visual Studio then you can use one of Microsoft's free Visual Studio Express or Community
products. This feature is only available in Enterprise MFT.
Please note that from CompleteFTP 11.0, the .NET 4 framework is required to build .NET extensions. All extension DLLs will need to be recompiled with the target framework set to .NET 4.
Types of .NET Extensions
For further details on the particular type of .NET extension which you are developing please go
to:
Creating a .NET extension
To create a CompleteFTP .NET extension:
- Open Visual Studio.
- Create a new project of type Class Library.
- Add a reference to the CompleteFTPServer.dll. You can find this in the directory
C:\Program Files\CompleteFTP\Server. Make sure the Specific Version property is set to false so that you don't have to rebuild the assembly every time you upgrade CompleteFTP.
- If you are using CompleteFTP 11.0 or later, ensure the target framework in your application settings is .NET 4.
- Add references (using or import) to the namespaces required for your
type of extension.
- Make sure your new class extends the appropriate base-class.
- Override the appropriate methods.
- Add any logging you require.
- Build the project.
Using the existing .NET extension
To use the existing .NET extension:
- Open Visual Studio.
- Copy C:\Program Files\Complete FTP\Examples\SampleExtension.zip to another folder and extract it.
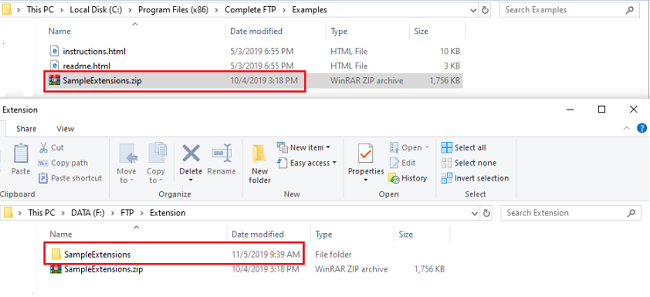
- Navigate to the SampleExtension folder, then open SampleExtensions.sln file in Visual Studio.
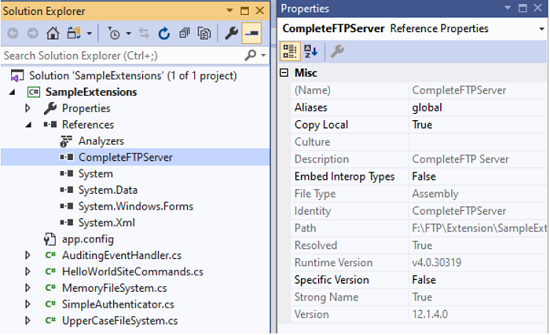
- Under the project tree, click References, if there is no CompleteFTPServer reference, you can add it,
the path is: "C:\Program Files\Complete FTP\Examples\SampleExtensions\lib\CompleteFTPServer.dll".
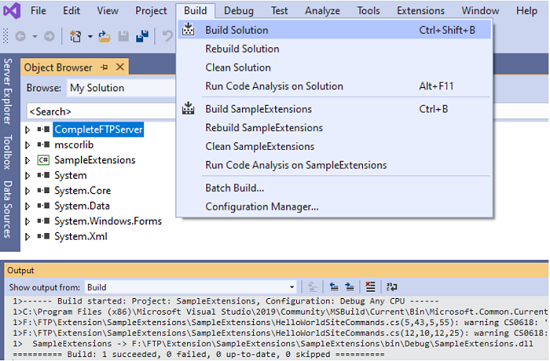
- Build the project.
Registering a .NET extension in CompleteFTP
Extensions must be registered with CompleteFTP. To do this:
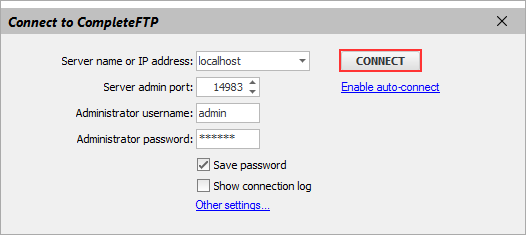
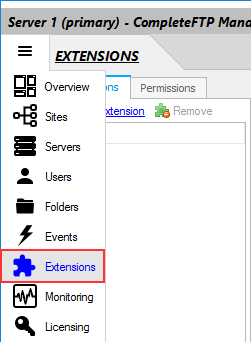
- Open the CompleteFTP Manager.
- Select the Extensions panel.
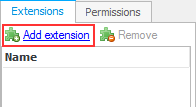
- Click 'Add extension'.
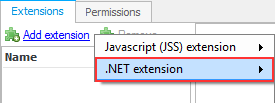
- Select '.NET Extension'.
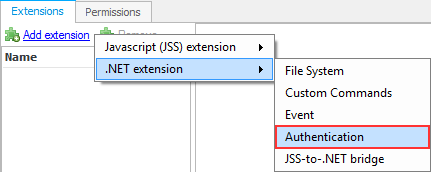
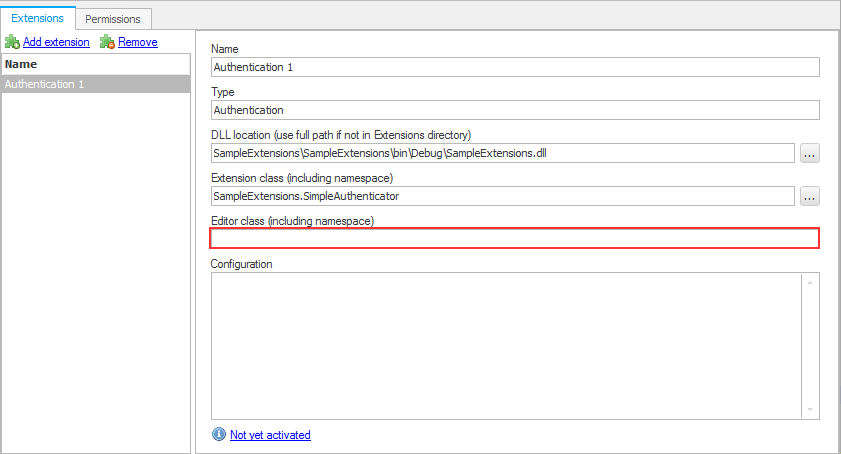
- Select 'Extension type' (e.g. 'Authentication').
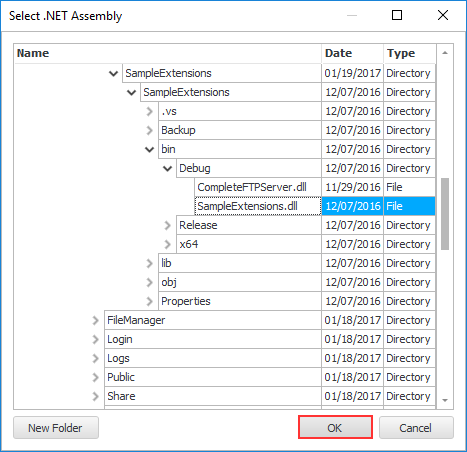
- Select .NET Assembly file in the .NET Assembly Dialog. Note that the assembly
is read by the System user, so this user must have access to the file.
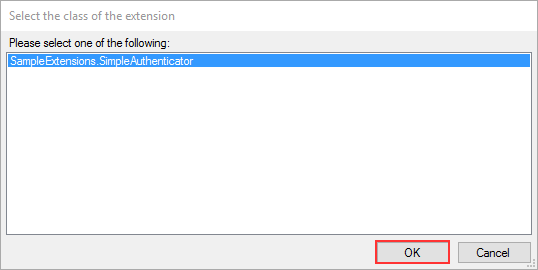
- Select the class of the extension. (A DLL file can contain more than one class, so the user has to select a class).
- Input the name of the editor class, including namespace. (Optionally)
- Some extension types require you to perform an additional registration step,
such as adding a new folder-type, or granting permissions to site-commands.
- Click the Apply button.

- Test your .NET Extension by using an FTP client.
Reloading a .NET extension in CompleteFTP
.NET assemblies cannot be reloaded if they are altered. If you need to make a
change to the code of the extension, then you will need to restart the CompleteFTP service to force
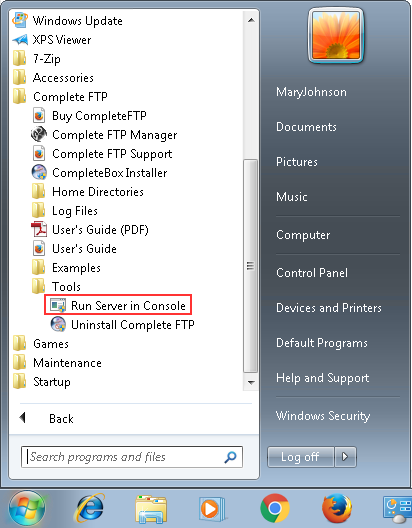
it to reload the DLL. While developing, it is sometimes helpful to run CompleteFTP in the console
mode. This may be done by closing the CompleteFTP service and then selecting Run server in
console from the Windows start menu.
.NET Framework Versions
The .NET assembly file must be built with a version of the .NET Framework runtime that is the same
as, or older than, the .NET Framework version on which CompleteFTP is running. This can be controlled
by editing the supportedRuntime element in the file, CompleteFTPService.exe.config
in the Complete FTP installation folder.
E.g. if you want your CompleteFTP's extensions to run on .NET Framework 4.0, you need to
make sure that 4.0 appears before 2.0 inside the supportedRuntime element and that
.NET 4.0 is installed on your machine.